NEW: Host and manage charity events in one place, with AI-powered auction tools.

Auction Set-Up Checklist for Nonprofits & Fundraising Events

TL;DR

This auction set-up checklist helps nonprofits plan, launch, and manage successful fundraisers. It covers pre-event prep, item setup, ticketing, bidder registration, payment processing, marketing, logistics, and post-event wrap-up—so nothing slips through the cracks.

Auction Set-Up Checklist for Nonprofits & Fundraising Events

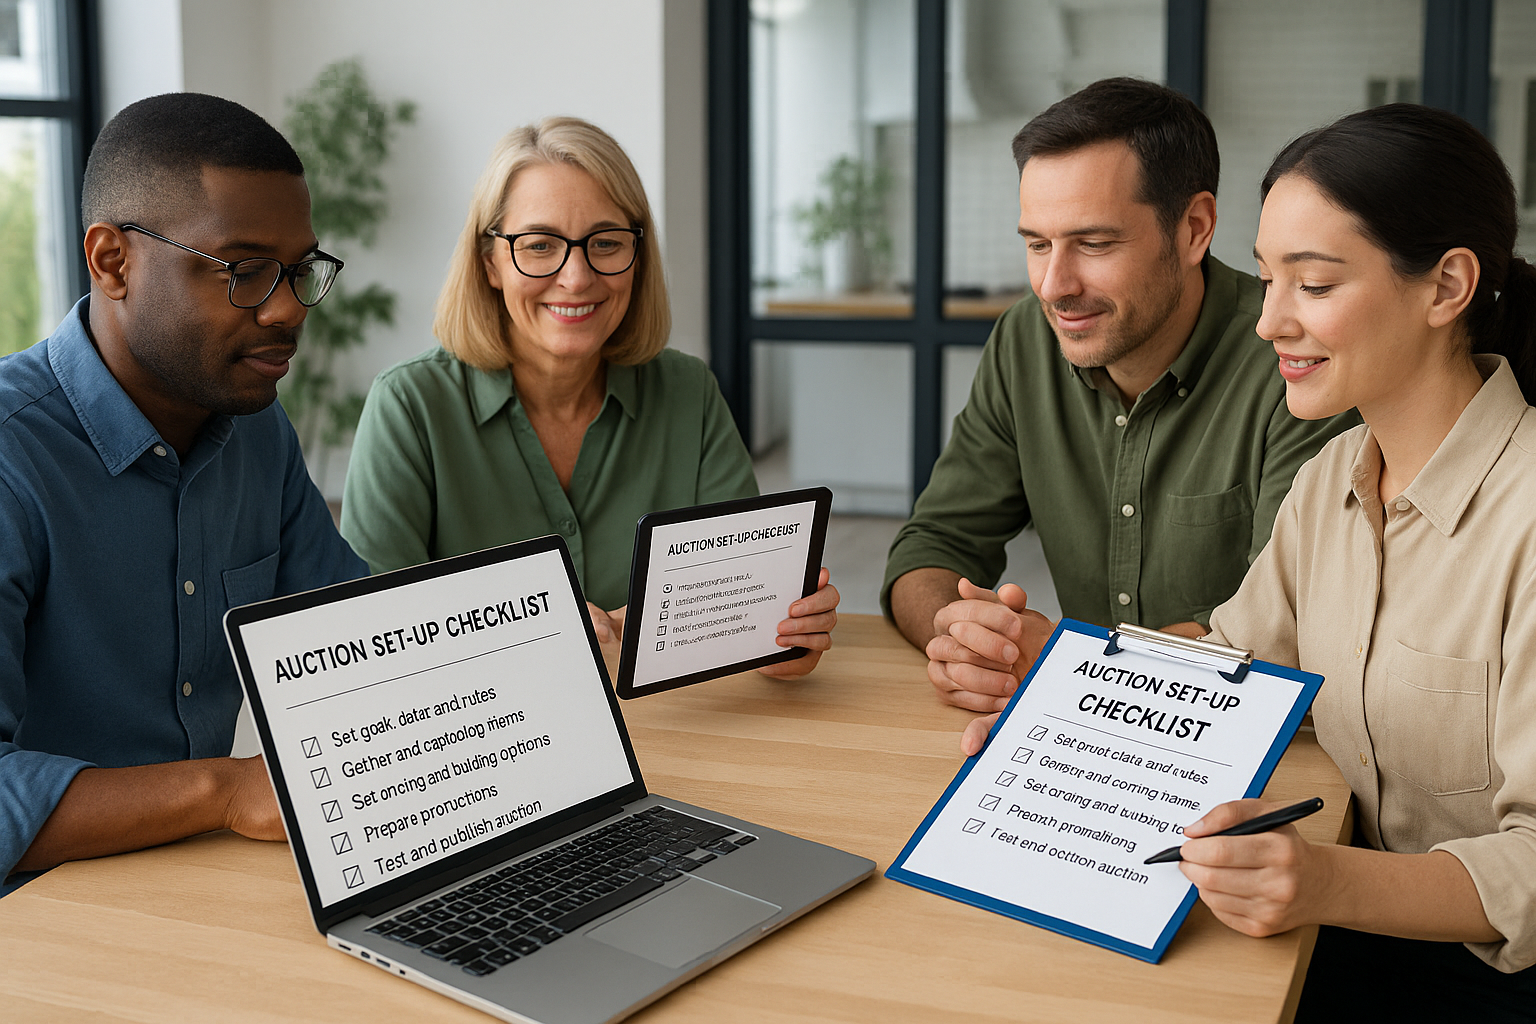
Why a Set-Up Checklist Matters

Running a charity auction without a clear plan can lead to last-minute chaos, missed donations, and stressed volunteers. A structured checklist ensures your team:

  • Keeps the event organized from start to finish
  • Avoids missing critical setup steps
  • Creates a smooth donor and bidder experience
  • Saves time and increases total funds raised

Whether you’re hosting an in-person, virtual, or hybrid auction, a clear setup plan makes everything easier.

Checklist Done? Launch Your Auction in Minutes

Turn your setup checklist into a live, branded event. With CharityAuctions.com, nonprofits, schools, and churches can spin up registration, item uploads, mobile bidding, and payments—fast. Skip the guesswork and start raising.

Launch Your Auction

Step 1: Pre-Event Planning

Before the first bid is placed, nail down your foundation.

  • 📝 Define your event goals (revenue target, # of donors, item quantity)
  • 📅 Set event date, time, and venue (or platform for virtual)
  • 🪙 Decide auction format (silent, live, hybrid, mobile)
  • 🧭 Select your auction platform or software
  • 🧍 Assign roles: event lead, item coordinator, marketing, check-in team
  • 🧾 Secure required permits or raffle licenses if needed
  • 📞 Build an outreach plan for donors, sponsors, and item contributors

👉 Pro tip: Start planning at least 8–12 weeks before the event for the smoothest execution.


Step 2: Collecting and Organizing Items

Your auction is only as good as your item catalog.

  • 📦 Request donations using a Donation Request Letter Template
  • 🏷️ Track pledged items in a central spreadsheet or your auction software
  • 📸 Take clear, high-quality photos of each item
  • ✍️ Write short, benefit-focused descriptions with FMV (Fair Market Value)
  • 🪄 Set starting bids (30–50% of FMV is common)
  • 🕒 Determine bid increments
  • 📦 Add pickup, delivery, or expiration details

👉 Pro tip: Group lower-value items into themed bundles to boost bidding activity.


Step 3: Build Your Auction Site or Catalog

If you’re hosting online or hybrid, this step is crucial.

  • 🖼️ Add branding: logo, colors, event name
  • 🛍️ Upload items with photos, titles, descriptions, and FMV
  • 📊 Organize categories (e.g., travel, dining, experiences)
  • 📢 Enable features like Buy Now, proxy bidding, or watchlists
  • 🧭 Add clear bidding instructions and event FAQs
  • 🔐 Test all links, buttons, and payment flows

👉 Keep the experience mobile-friendly. Most bidders use their phones.


Step 4: Ticketing & Registration

Whether your auction is ticketed or free, registration is key.

  • 🎟️ Create your ticketing page or RSVP form
  • 🧾 Collect bidder information upfront (name, email, phone, payment method)
  • 💳 Enable credit card pre-authorization to speed up checkout
  • 📨 Send confirmation emails with event details and auction links
  • 🧭 Add early access or VIP perks if applicable

👉 Pro tip: Keep registration as frictionless as possible — fewer clicks = more bidders.


Step 5: Marketing and Promotion

An auction without promotion is just a warehouse of items.

  • 📩 Send Save-the-Date and reminder emails
  • 📱 Promote across social media channels (Reels, Stories, LinkedIn)
  • 📰 Announce big-ticket items to build buzz
  • 🧑‍🤝‍🧑 Leverage ambassadors, board members, and sponsors
  • 💬 Use text messaging for last-minute pushes
  • 🧭 Schedule regular content drops leading up to auction day

👉 Pro tip: Create urgency with “limited time” messaging and countdown timers.


Step 6: Event Logistics & Staffing

For in-person and hybrid events, logistics can make or break the donor experience.

  • 🪑 Plan event layout (check-in tables, item displays, screens)
  • 🖥️ Prepare signage and printed materials
  • 🧑‍💼 Train staff and volunteers on roles (check-in, bid spotters, checkout)
  • 🧾 Print bidder paddles, name tags, table numbers if needed
  • 🔌 Test Wi-Fi, power sources, microphones, and tech stations

👉 Pro tip: Always have backup devices, chargers, and hotspot access.


Step 7: Payment, Checkout & Fulfillment

Smooth checkout = happy donors.

  • 💳 Test your payment system before event day
  • 🧾 Set up automatic receipts and thank-you messages
  • 📦 Clearly communicate pickup/shipping instructions for items
  • 📑 Have printed backup records in case tech fails
  • 🧮 Reconcile payments in real time or immediately post-event

👉 Consider offering donor-covers-fees to maximize proceeds.


Step 8: Post-Event Wrap-Up

Your auction isn’t over when the last item closes.

  • 📝 Send personalized thank-you emails and receipts
  • 📢 Announce total funds raised and impact stories
  • 📦 Confirm fulfillment for all won items
  • 🧾 Generate reports: top bidders, item performance, revenue sources
  • 🧠 Debrief with your team — what worked and what to improve

👉 Pro tip: Post-event follow-up drives repeat donor engagement.


Auction Set-Up Master Checklist (Printable)

✅ Print this checklist or copy it into your project management system.


Final Tips for a Flawless Auction Setup

  • Start planning early — 8+ weeks gives room to breathe
  • Keep instructions simple for both donors and bidders
  • Use mobile-friendly tools to streamline the experience
  • Test every technical element at least twice
  • Build trust with transparent communication and prompt follow-up

Frequently Asked Questions

What is the Auction Set-Up Checklist?

It’s a step-by-step guide to configure your charity auction: event details, items, settings, payments, and launch tasks—so you can take the event out of test mode and start fundraising confidently.

How do I set up my auction in 10 minutes?

  1. Name the event and add logo/header image.
  2. Choose timezone, currency, and dates.
  3. Add 5–10 starter items with photos.
  4. Enable donations and checkout settings.
  5. Preview, toggle off test mode, and share the link.

What’s a simple auction timeline to follow?

  1. T-30 to T-14: build items, sponsors, page.
  2. T-13 to T-7: open preview, early tickets/registration.
  3. T-6 to T-1: daily spotlights; finalize rules.
  4. Live week: open bidding; send reminders.
  5. Post: close, collect payments, thank yous.

Which event details matter most on the page?

  • Clear cause statement and funding goal.
  • Dates/times with timezone and closing rules.
  • How to bid, donate, and checkout.
  • Contact info and accessibility notes.

How should I add items for maximum bids?

  • Add compelling titles, 2–4 photos, and benefits.
  • Set fair market value (FMV) and starting bid (10–30% FMV).
  • Use categories and tags for easy browsing.
  • Include restrictions, blackout dates, and pickup/shipping info.

Which bidding settings should I consider?

  • Increment ladder and maximum bid proxy.
  • Soft-close or anti-sniping extension.
  • Buy-It-Now on select items.
  • Reserve price for premium packages.

What’s the difference between test mode and live mode?

Test mode lets you trial bids and checkout without real charges. When the page looks right and rules are set, toggle live mode to accept real bids and donations, then share the public link.

How do I prepare payments and checkout settings?

  1. Connect a payment processor and test a $1 transaction.
  2. Enable donor-covered fees if available.
  3. Set sales tax/shipping options if applicable.
  4. Turn on receipts and thank-you emails.

General information, not legal/tax/financial advice.

How should bidder registration be configured?

Decide if guests can browse without logging in, require email/phone for bidding, and use SMS/email verifications. Keep forms short to reduce drop-off while capturing essentials for receipts.

Should I enable donations alongside bidding?

Yes—add a Donate button with preset amounts and impact labels (e.g., $50 = supplies for one student). It converts non-bidders and boosts total revenue during quiet bidding windows.

What images and branding help the page convert?

  • High-contrast header image and logo.
  • Consistent fonts/colors for trust.
  • Alt text for accessibility and SEO.
  • Item photos on neutral backgrounds.

Do you have a quick promo script to announce launch?

Email/Social: “We’re live! Bid now to support [cause]. Auction closes [date/time, TZ]. Every bid moves us closer to [goal]. Start here: [link].” Add 1–2 images and a clear CTA.

Which roles keep set-up on schedule?

  • Project lead: timeline/approvals.
  • Catalog lead: items/photos/compliance.
  • Marketing: emails/social/partners.
  • Ops/Cashier: payments, receipts, fulfillment.

What KPIs indicate a healthy launch?

  • Registered bidders and % activated.
  • Bid rate per item and average bids/item.
  • Page conversion (visits → registrations/bids).
  • Average gift (donations) and % paid post-close.

Any policies to post before opening bids?

Add bidding rules, item restrictions, pickup/shipping terms, and refund policy. Confirm tax/ticketing rules for your location. General information, not legal/tax advice.

How do we handle item pickup and shipping smoothly?

  1. Collect winner address/phone at checkout.
  2. Offer pickup windows and verify ID.
  3. Pre-price shipping for common items.
  4. Track delivery and confirm receipt.

How can we test mobile bidding before launch?

Create 2–3 dummy users on phones, place sample bids, outbid each other, and complete a test checkout. Check link previews, SMS reminders, and receipt emails on iOS and Android.

What should be on my launch-day checklist?

  • Toggle live mode and recheck dates/timezone.
  • Pin link across website, email, and socials.
  • Schedule a mid-auction update and 24-hour countdown.
  • Enable notifications for outbid alerts and payments.

What are the post-event wrap-up tasks?

  1. Auto-charge or collect balances; resend invoices if needed.
  2. Distribute item certificates and pickup details.
  3. Send impact report and sponsor thanks.
  4. Export data to CRM and archive analytics.

What mistakes does the checklist help prevent?

  • Wrong timezone or end time.
  • Missing shipping/tax details.
  • Poor item photos and vague descriptions.
  • No donor button, weak CTAs, or untested checkout.
Category Tasks Done ✅
Pre-Event Planning Set goals, secure venue, assign team roles
Item Procurement Collect items, photos, descriptions, FMV
Auction Site Setup Upload, test, launch
Ticketing & Registration Configure tickets, collect payment info
Marketing & Promotion Email, social, partners, countdown campaigns